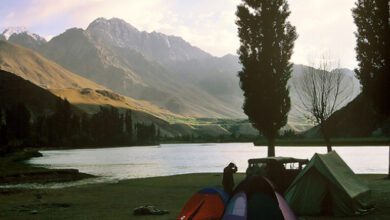
There’s something magical about freezing a moment in the wild – a lion’s piercing gaze, an eagle mid-dive, or a fox pouncing through snow. Wildlife photography isn’t just about taking pictures using tips; it’s about patience, instinct, and sometimes, pure luck. From tracking elusive birds to capturing Big 5 Game Animals in their natural habitat, every moment is a test of timing and preparation.
I’ll never forget the first time I captured a lioness. It was 4 AM in the Serengeti when I heard the low growl of a lioness. My fingers froze on the shutter button, not from fear, but from anticipation – this was the shot I’d waited three weeks for. Wildlife photography isn’t just about gear and settings; it’s about becoming part of the wild. You must wait for that fleeting moment where nature reveals its rawest beauty.
Table of Contents
If you’re ready to dive into this, know that it’s equally exhilarating and frustrating. But with the right approach, you’ll come back with images that don’t just sit on your hard drive – they tell stories.
In this article, we’ll discuss the fundamentals of wildlife images, from selecting the right gear to mastering camera settings, composition, and ethical considerations.
Gear – Your Weapon in the Wild
Having the proper gear can drastically impact how great your wildlife images will be, specifically in regions like top African safaris where you get real wild interaction. You don’t need the most expensive setup, but you do need the right tools. Wildlife won’t wait for you to fumble with settings or creep closer because your lens isn’t long enough.
Camera
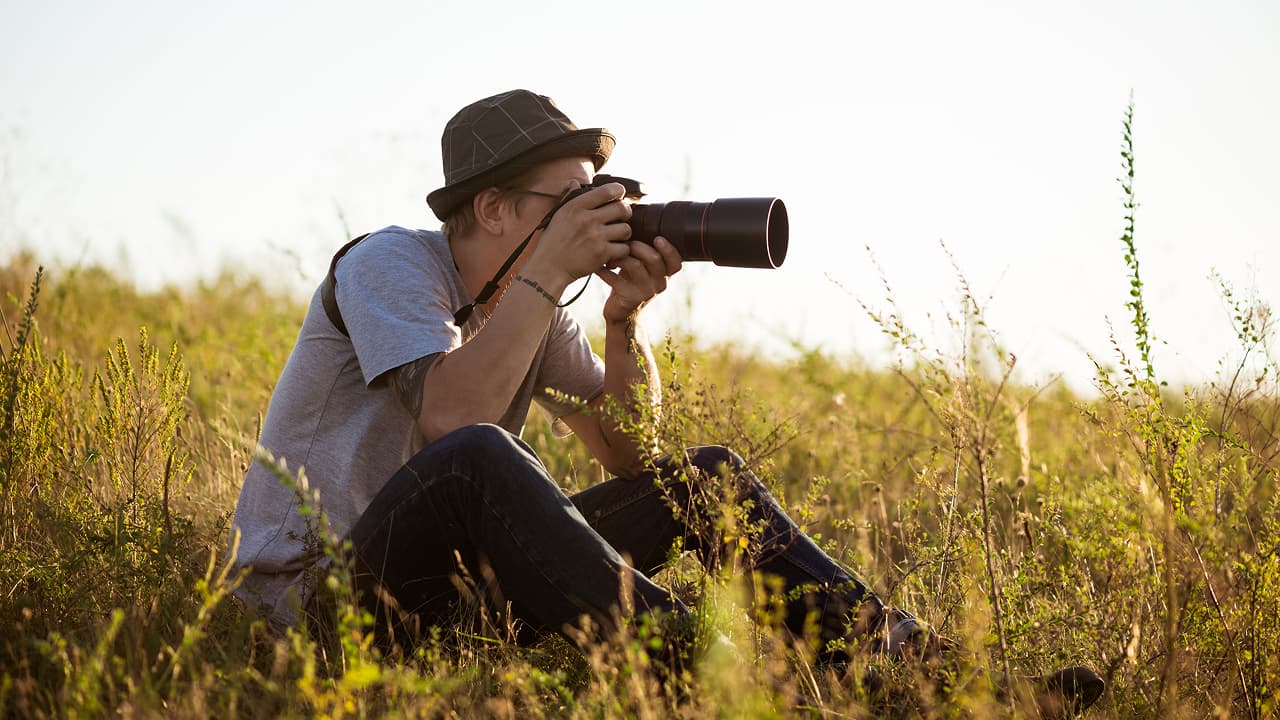
Your camera is your primary tool; selecting the right one can mean distinguishing between a missed one and a masterpiece.
- DSLRs vs. Mirrorless: DSLRs (like the Canon 5D Mark IV) are reliable workhorses with great battery life. Bit mirrorless cameras (Sony A1, Nikon Z9) are changing the game. They’ve got faster autofocus, silent shooting (crucial for skittish animals), and insane burst speeds (30+ fps in some models).
- Crop Sensors vs. Full Frame: A crop-sensor camera (like the Canon 7D Mark II) gives you extra “reach” without buying a longer lens. A 300mm lens acts like a 480mm is handy for distant subjects. A crop-sensor like Nikon D500 gives extra reach, while the full-frame sensors excel in low light.
Lenses
A long lens isn’t just helpful – it’s often essential.
- Telephoto Lenses: These are ideal for maintaining distance while filling the frame, and some options are below; choose accordingly.
- Budget Friendly – Sigma 150-600mm f/5-6.3
- Pro-level – Canon EF 600mm f/4
If you can’t drop $10k on a lens, a 150-600mm zoom (like the Sigma Sport) is a solid alternative. Just know that in low light, it’ll struggle compared to a fast prime.
- Fast Aperture Lenses: These have f/2.8-f/4 and are crucial for low-light conditions, specifically, dusk and dawn.
- Wide-Angle Lenses: These are 16-35mm and useful for environmental shots where habitat matters as much as the subject.
Related Pick: Tiger Safari Park Oklahoma
Accessories
Essential accessories are crucial for picturizing amazing images in the wild and without prior preparation, you may lose the moment.
- Tripod – Tripods are essential for slow-moving subjects (owls, grazing herds). For action (birds in flight), a monopod gives stability without sacrificing mobility.
- Gimbal Head – It’s a must-try for heavy lenses as it balances weight and lets you track movement smoothly.
- Extra Batteries & Memory Cards – Wildlife shorts can last for hours, hence, you need to get extra batteries and memory cards to not getting caught unprepared.
- Camouflage Gear – A lens wrap or camo tape dulls reflections. Turn off all the camera sounds – even the beep when focus locks can scare animals. A ghillie suit can help you hide from being odd in the wild.
Lighting

Light is nature’s good or worst friend, based on how we use it. You know what the difference between a good shot and a jaw-dropping one is? Light.
Golden Hour
The hour after sunrise and before sunset offers soft, warm light that enhances textures and minimizes harsh shadows. The gentle light at these times produces flattering shadows and highlights that make your photos pop with depth and richness.
You Might Like to Read: African Safari Honeymoon: An Unforgettable Journey Together
These hours are perfect as most animals would be active during these times, long shadows add depth and drama in scenes, while warm tones will make fur and feathers glow in the wild.
Midday Light
Bright midday sunlight can wash out colors and create unflattering shadows. You can deal with this by using these tactics;
- Shoot in Open Shade – Position your subject where light is diffused, as animals rest in shades, too.
- Use a Polarizing Filter – It will help you reduce glare on water or leaves while shooting
- Backlighting – Position yourself so the sun is behind the subject. It will create a rim-light effect around fur or feathers.
Shadows and Overexposure Management
Bright midday sun can cause heavy shadows on one thing and overexpose highlights on another, which can degrade the quality of the picture. Adjust your camera settings to avoid overexposure if you’re shooting in bright light, or use the body of the object, like a tree or building, to create natural shadows.
Camera Settings
Wildlife moves fast and if you’re still fiddling with dials, you’ve already missed the shot. A good selection of camera settings is essential to avoid blurry, over-exposed wildlife photographs, particularly when animals are in motion. As part of the initial setup for any camera, there are a few must-have settings to be made.
Shutter Speed
To freeze the motion of animals, fast shutter speeds (1/1000 or faster) are needed to capture action images. This is particularly vital when shooting flying birds or running mammals. Consider these;
- Fast Action (1/1000s or Faster) – For running mammals or birds in flight
- Moderate Movement (1/500s-1/1000s) – Great for walking animals and slow flying birds.
- Intentional Motion Blur (1/60s-1/250s) – Good for panning shots for a sense of speed.
Aperture and Depth of Field
Use a large aperture (f/2.8 to f/5.6) if you want a shallow depth of field that removes background elements and isolates the animal. This causes your subject to pop against the background, which is typically the goal, and blurry. As;
- Wide Open (f/2.8 – f/5.6) – Isolates the subject with creamy bokeh.
- Stopped Down (f/8 – f/11) – Useful for the habitat shots as it keeps more of the scene in focus.
ISO
In dim light, you might have to crank up your ISO number to be able to shoot with a fast shutter speed. That said, watch out for noise at those high ISO values. A good way to do it is to keep a balance between shutter speed and ISO and make sure that you don’t lose image quality.
One of the most overlooked wildlife photography tips is to shoot in manual mode when you can—it gives you full control and ensures consistent exposure throughout a shoot.
- Low ISO (100-400) – Best for bright conditions
- High ISO (1600-6400+) – Necessary in low light, but manage noise in post-processing.
Related Pick: Family Safaris in East Africa
Autofocus and Continuous Shooting
Wildlife is often very fast-moving, and setting your camera to continuous autofocus allows the camera to adjust focus constantly as the animal moves. Shoot this in continuous shooting mode (burst mode), as this increases the success rate for even and beautiful framing (a lot of images here can be saved after the fact).
- AI-Servo or AF-C mode – Tracks moving subjects continuously
- Back-Button Focus – Separates focusing from shutter release for better control.
- Burst Mode (10+ fps) – Increases chances of capturing the perfect moment.
Composition and Framing

Technical settings matter, of course, but composition is what will make your wildlife photos stand out. Here are some wildlife photography tips to help you create beautiful compositions.
The Rule of Thirds
The Rule of Thirds: The rule of thirds is one of the basic yet powerful techniques that make your photos balanced and interesting. Picture splitting your frame into nine equal parts by two vertical and two horizontal lines. Position your subject along these lines or at the intersections to create a more dynamic composition (like an eagle in full wingspan).
Composition
Look at the background and the foreground. A background that is busy or distracting can detract from your subject. Seek out simple, natural backgrounds that work with the animal’s environment. Things such as trees or grass can be used to frame your subject, making the shot better, or a frog at eye level feels more engaging than one shot from above.
Capturing Movement
Wildlife photography means action like a lone wolf in a snowy expanse tells a stronger story than a cluttered framing tips. For moving subjects (the running animal, birds soaring), try a slower shutter speed to capture movement while drive-thru safari adventure. A little bit of blur can suggest motion and energy, giving the photo more life.
You Might Like to Read: The Best National Parks and Game Reserves in Kenya
Focus on Behavior
Photograph animals interacting with their environment or doing something that a viewer can relate to.
For Example;
- A lion yawning > a lion just standing.
- Birds mid-flight > birds perched statically.
Such shots tend to carry more power than staged or still photos and can convey a narrative about the animal.
Ethical Wildlife Photography

Maybe one of the most important tips when you do wildlife photography is not harming the animals or the nature around you. For the safety of the wildlife and their habitats, ethical practices are paramount.
Keep Your Distance
Keep a safe distance; never disturb wild animals. Never get too close to wildlife; it can cause stress and make them run. Use long lenses to get in close without encroaching on their territory. What not to do on a Safari in Africa includes approaching animals too closely or interfering with their behavior for the sake of a photo.
Minimize Disturbance
Don’t yell or make other loud noises, and don’t make quick movements that could alarm animals. These are, after all, their home, and out of respect for their natural behavior, you should keep that in mind. Whether you shoot birds or mammals, always respect their distance and keep them comfortable.
Related Pick: Best Tiger Safari Destinations for Thrill Enthusiasts
Protect the Environment
Do not destroy plants, trees, or the surrounding habitat while traveling. Stick to established trails and engage in non-invasive photography that won’t impact the local ecology. Following ethical wildlife photography tips ensures that you’re preserving the moment and the environment for others to experience, too.
Remember – If your presence changes an animal’s behavior, you’re too close.
Post-Processing Tips
Wildlife imaging also means post-processing your photo. This tip is an integral aspect of wildlife photography to improve your photo, regardless of how minor the issue is (exposure, color balance, etc.).
First edits
Correct exposure and contrast cases, and white balance in the image so the picture shows the same light or natural colors as you saw in the natural habitat.
Sharpening and Noise Reduction
Use mild sharpening to bring out texture in an animal’s fur or feathers. And, if images are shot at high ISO settings, use noise reduction tools to minimize “grain.”
Cropping
Crop the image, if needed, to enhance composition, but avoid cropping too much. Pay attention to the framing and do not crop a part of the animal’s body unless you want to do so for artistic reasons.
Common Mistakes to Avoid
Wildlife photography is tough, and even seasoned photographers make mistakes. Here are some common mistakes to avoid:
Not Enough Exposure
Too much exposure can cause highlight details to wash out when shooting in bright conditions. Make sure you check your exposure settings and play around with a graduated ND filter if the light is too harsh.
Poor Timing
Wildlife is often fast-moving, and timing is crucial. Ensure your camera is in advanced shooting mode, and then be patient. It may take time to nail that perfect shot.
Not Being Prepared
Sometimes, the best wildlife shots are the ones you get when you least expect them. Keep your camera always ready, and ensure you have your settings figured out for the conditions. If you are in an area known for particular wildlife, try to learn about the way they behave and what their patterns are to better your chances of getting them in action.
You Might Like to Read: Myrtle Beach Safari
Being prepared is one of the most timeless wildlife photography tips because, in the wild, moments happen fast.
Conclusion
The best wildlife photographers aren’t just technicians – they’re storytellers, adventurers, and, above all, patient observers. You’ll have days where you come back with nothing. But then, when you least expect it – boom – the perfect moment unfolds. And that’s why we do it.
Now grab your gear, get out there, and shoot like the wild depends on it (because in a way, it does).
Happy shooting!
Your Turn!
What’s the most thrilling wildlife encounter you’ve had (or dream of having)? Drop it in the comments – I’d love to hear your stories!