From Setup to Success: Installing Gymnastics Bars Like a Pro
The installation of gymnastics bars necessitates a meticulous approach, combining careful planning and precise execution to establish a configuration that is both secure and fully operational. Whether setting up the bars in the comfort of your own home or within the confines of a professional gymnasium, this comprehensive guide is an invaluable resource, providing a detailed step-by-step process that guarantees a successful installation.
This all-encompassing guide leaves no stone unturned, covering every facet of the installation journey, from the thoughtful selection of a suitable location to the strategic implementation of indispensable safety measures. By diligently adhering to these expert instructions, you can confidently create an environment perfectly tailored to the needs of aspiring gymnasts, fostering growth, refinement, and unwavering proficiency in gymnastics.
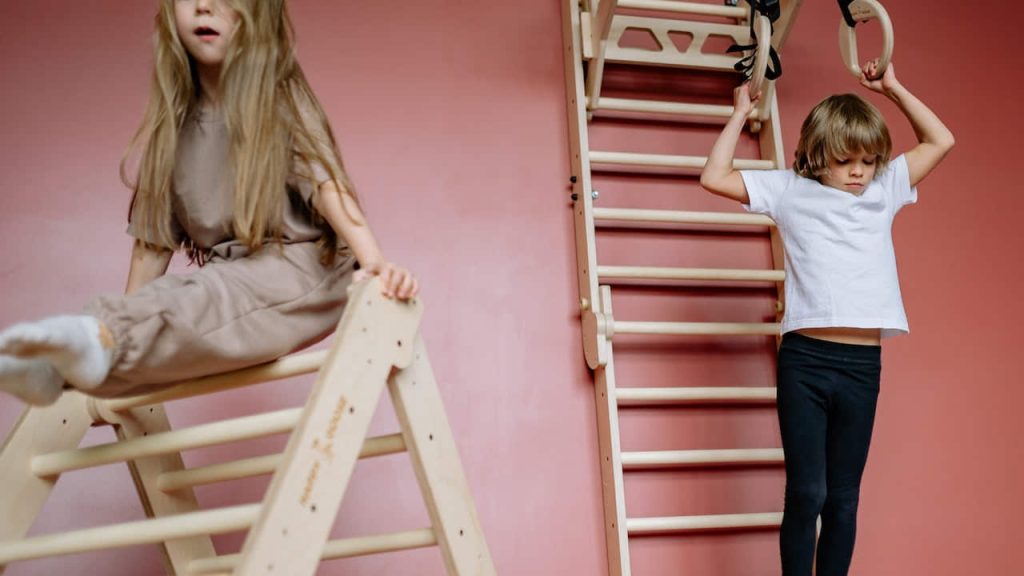
Table of Contents
How Are Gymnastics Bars Installed?
Here’s a detailed guide on how gymnastics bars are installed, designed to be engaging, helpful, and practical for you:
Step 1: Determine the Location
Before installing gymnastics bars at home, selecting a suitable location that meets the requirements is essential. Consider the available space and ensure it can accommodate the bars’ length, height, and width. Consider the bar and clearance area around it for safe movement. An open and unobstructed space is crucial to provide gymnasts enough room to perform their routines comfortably. Additionally, ensure the chosen location allows for proper ventilation and access to necessary utilities such as electricity and lighting.
Step 2: Measure and Mark
Accurate measurements are vital for a successful installation. Using a measuring tape and a level, measure and mark the desired height and width of the gymnastics bars on the wall or floor. Take your time to ensure precise measurements and use a level to maintain proper alignment. This step is crucial to guarantee that the bars are installed at the appropriate height for gymnastics skills and different levels. By carefully marking the measurements, you’ll create a solid foundation for the rest of the installation process.
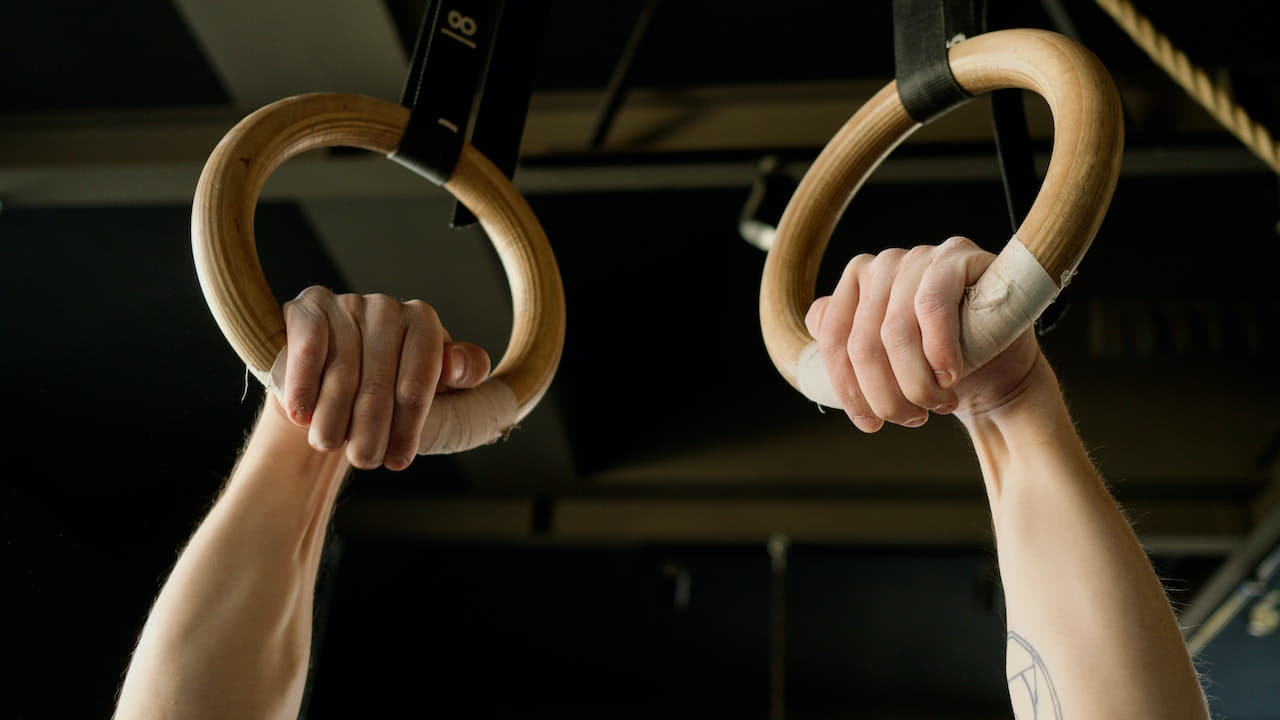
Step 3: Install Wall-Mounted Bars
Wall-mounted gymnastics bars provide stability and support, making them popular for home and professional setups. Begin by using a stud finder to locate the wall studs. These studs will be the anchor points for attaching the brackets or mounts supporting the bars. Once the studs are located, mark their positions on the wall. Next, using a drill and suitable screws or hardware, securely attach the brackets to the studs following the manufacturer’s instructions. Ensure that the brackets are level and firmly attached to the wall. Finally, attach the gymnastics bars to the brackets according to the guidelines. Double-check the stability and ensure the bars are securely fastened before proceeding.
Step 4: Install Freestanding Bars
Proper assembly ensures stability and safety if you opt for freestanding gymnastics bars. Begin by preparing a level surface to place the bars on. This can be a gym mat or any other suitable flooring material that provides stability. Carefully follow the manufacturer’s instructions for securely connecting the base and upright posts. Depending on the specific design, this may involve aligning holes and inserting bolts or other connecting mechanisms. Once all the components are correctly assembled, ensure all bolts and connections are tightened to the recommended specifications. A stable and secure assembly is essential to prevent wobbling or tipping during gymnastics routines.
Step 5: Secure and Test
Once the gymnastics bars are installed, verify their stability. Double-check that the connections are secure and the bars are fastened according to the manufacturer’s instructions. Give the bars a gentle shake to ensure they can withstand the weight and movements of a gymnast. Safety should always be a priority, so it’s essential to be confident in the stability of the installation before anyone practices on the bars.
Step 6: Safety Precautions
In addition to the installation process, it’s essential to consider and implement appropriate safety measures for gymnastics bars. Protective mats or padding should be placed around the bars or on the floor to minimize the risk of injuries during practice and routines. These safety measures provide extra cushioning and protection, particularly for falls or landings. Ensure the mats are securely positioned and cover a sufficient area around the bars. Furthermore, it’s recommended to establish clear rules and guidelines for safe usage, emphasizing proper warm-up routines, supervision, and adherence to safety protocols.
Step 7: Regular Maintenance
Regular maintenance is necessary to ensure the longevity and safety of the gymnastics bars. Periodically inspect the bars for wear, damage, or loose components. Tighten any loose screws or bolts and address any issues promptly. Cleaning the bars will help maintain their optimal performance and prevent the buildup of dirt or residue that could affect the gymnast’s grip. Following a consistent maintenance routine will not only extend the lifespan of the bars but also contribute to a safe and enjoyable gymnastics experience for users.
Wrap Up
Following these step-by-step instructions, you can install gymnastics bars and create a safe and engaging space for gymnastics enthusiasts. Whether wall-mounted or freestanding, proper installation, consideration of safety precautions, and regular maintenance are essential to ensure the bars are functional, secure, and ready for gymnasts to practice and excel in their skills.
Moreover, if you need clarification on the installation process or have specific questions, consult the manufacturer’s instructions or seek professional assistance. Following these steps, you can confidently install gymnastics bars, creating a safe and engaging space for aspiring gymnasts to practice and excel in their skills.