As a gymnastics parent, it could understand the kind of money that goes into gymnastics classes, meets, and apparatus. Even vital product gymnastics bars are very pricey. To save cost, anyone can try how to make a gymnastics bar at home.
Making of gymnastics bars at home is a very tricky task but with the fundamental stuff and tools then definitely not impossible.
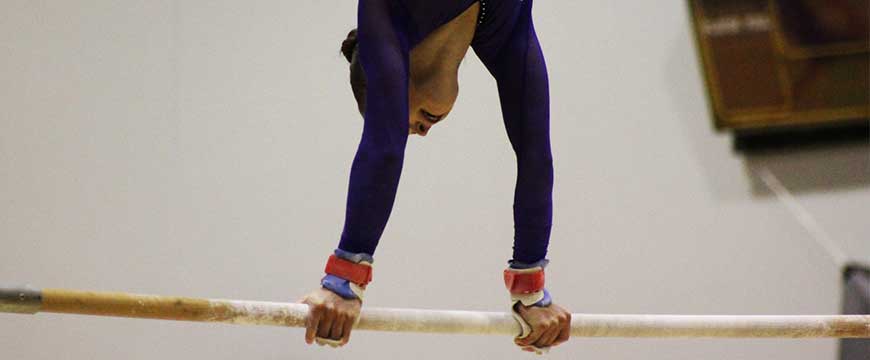
Table of Contents
Cost Categorization How to Make a Gymnastics Bar
The equipment can easily make under $50 but best recommendation for higher quality products. The cost of a product might be a little bit extra, but a kid will be safe. Because the gymnast safety must be on priority. Safe and secure products always save from mental gymnastics of the gymnast.
Items needed
| Items | Price |
| 2 12 foot 2×4 | $9 |
| 1 10 foot 2×4 | $4 |
| 3 8 foot 2×4 | $8 |
| Many wood screws | $5 |
| 1 4-foot bar | $9 |
| 1 wood glue | $40- $50 |
| 4 steel washer | $2 |
| 2 threaded pipes (4 inches) | $5 |
| 4 3/4 inches coupler | $6 |
Accessories
You will need some basic tools for this DIY gymnastics bar. The most household item could be at home, but if you have then no need to purchase the brand new one. Mostly tool can borrow from a neighbor, friend, or take on rent from hardware stores.
- Saw
- Hole saw looks like a drill
- Cordless drill or screwdriver
- Wrench
If you don’t want to get a saw, then there is an option to make the cuts from home improvement store.
Step-By-Step Instructions- How to Make a Gymnastics Bar

Cut legs:
Cut 12 foot into two 6′ pieces and repeat this process for other board also. In the end, there will be 4 6′ boards for making legs.
Build legs:
Take 2 of the cutting 6” boards glue and screw them with 2.5” wood screw.
Cut feet:
Now for making feet of gymnastics bar, cut a 10-foot board into two 5 foot pieces.
Find Crossbars:
Separate the largest 8-foot board for later use.
Leg Braces:
Now cut the remaining 8-footboard into 3′ pieces. Mitering their end at 45 degrees because they will act as braces on the legs for sturdiness and solidity. The miter cut should be in lengthwise.
Drill Holes:
Use the double 2×4 legs and measure up from floor to the height as required. The bar height should be about the chest of a gymnast and don’t forget to figure the gymnastics mat height. Mark up from the base and trace where the hole will go. After this measure across the board and trace it. Drill a 1-1/8 inch hole through 4×4 and repeat with the other leg.
Attach Feet:
Now join 5 feet board to the double 6′ board with 3” screws. Do this with both legs and make sure the bar hole is facing the right way.
Attach Leg Braces:
Connect the 3′ miter leg brace board on both sides of the feet with 3” wood screws. Apply two braces on each side of the frame.
Measure 25” approx from both the side in a way that they form edges of the square.
Attach Bar:
With the wooden pole, set a bar by the hole on each side. It can connect with screws for making certain the stable and sturdy enough. For the steel bar, thread a coupler on both the end of a threaded bar of steel.
Use a small bar of 4” to each coupler end. Before applying the bar by a drilled hole, add a washer of steel in the end. Add a steel washer on the outside of the leg and thread on another coupler to be the outer cap. Tighten with a wrench and repeat for the other side.
Attach Crossbars:
Take the 2×4 board for extra durability. Compute width amid the two legs. Cut 2×4 to size and unite these pieces on to the back and on to the front by using 3” screws.
Now the economy gymnastics bar is set.

Construction
The 2 x 4 boards are about 1.75 inches thick and 3.5” in width. They are not in actually 2 x 4”.Always mark for homemade gymnastics bar. The 12 foot 2 x 4 will not be precisely in the same length. One side could be little longer than other, but there will be no problem.
The height of a bar
The standard height of a low bar could be amid 38-53”. The right height of the bar can get by measuring up the chest of kid. Add also extra height by using the mat. Everything could be the height and size of the gymnast. You have an option too, but adjustable bar but it could be costly for you.
Warning
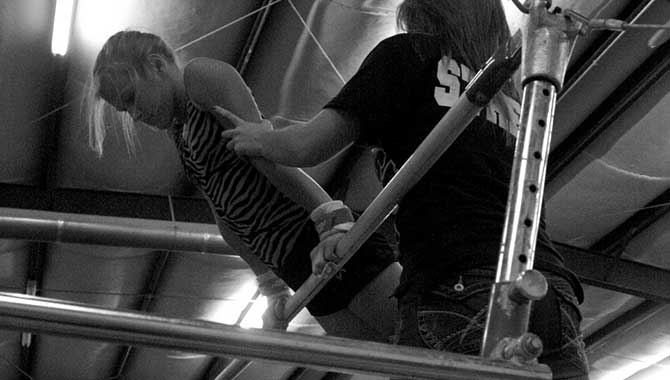
Before diving into the scheme how to make a gymnastics bar must read precautions about it. If you are looking to buy equipment of gymnastics bar then with this method can save a lot of money. It can’t take the place of gymnastics class or coach, but it’s great for practicing.
Remember one thing, Try the practice on gymnastics bar without any guidance could lead to sloppiness. You can discuss with your coach about this situation. Always practice under the strict supervision of adults or trainee for homemade gymnastics bar.
Indeed if bar makes rightly would be strong sturdy, but even though should not be safe for standing on, swinging on, spinning, flipping or something like that. It is essential for inspecting closely after constructing it.
This homemade gymnastics bar is perfect for the basic candlestick. If you have no skill to make this bar, then you must make it with the help of assistance.
Always use 4” mat under the bar to defend the player and install the bar aside from any furniture to protect from any injury.
There is rough draft about how to make a gymnastics bar, and you have to fix its fitting according to your’s need. We have to make it clear again that you have to use it your best experience to determine if this project is right for you. For example, gymnastics bars which are sold on an Amazon with a multiple weight limit. Weight limit for a mini practice bar is an under 50lbs. So if the kid is teenage, then it’s not perfect for the child.
You May Like to read
How to Clean Gymnastics Bars at home
Conclusion
After reading the article, you would have gained some discernment into making a gymnastics bar. There have given the best answer to the question of how to make a gymnastics bar. The budget is low for making gymnastics bar as our aim to save your money. In the last, take full precautions while make and use it.